This past Sunday, August 2nd, we were able to bless Winnie at church. All of our local family came to watch. It was wonderful! Winnie wore a beautiful dress made by her Aunt Stephanie.
Winnie is such a happy baby, even though she has a cold right now. She is all smiles through her yucky coughs and stuffy nose.
We feel so blessed to have her in our family! We love you Winnie!
Last summer, we added a new dog to our animal crew. Meet Maddie!
She is a Golden Retriever, and is about 4 years old. She is sweet and mellow and good company. She loves watching TV, thinks she should be able to lounge on the couch, and lets the kids love on her all they want.
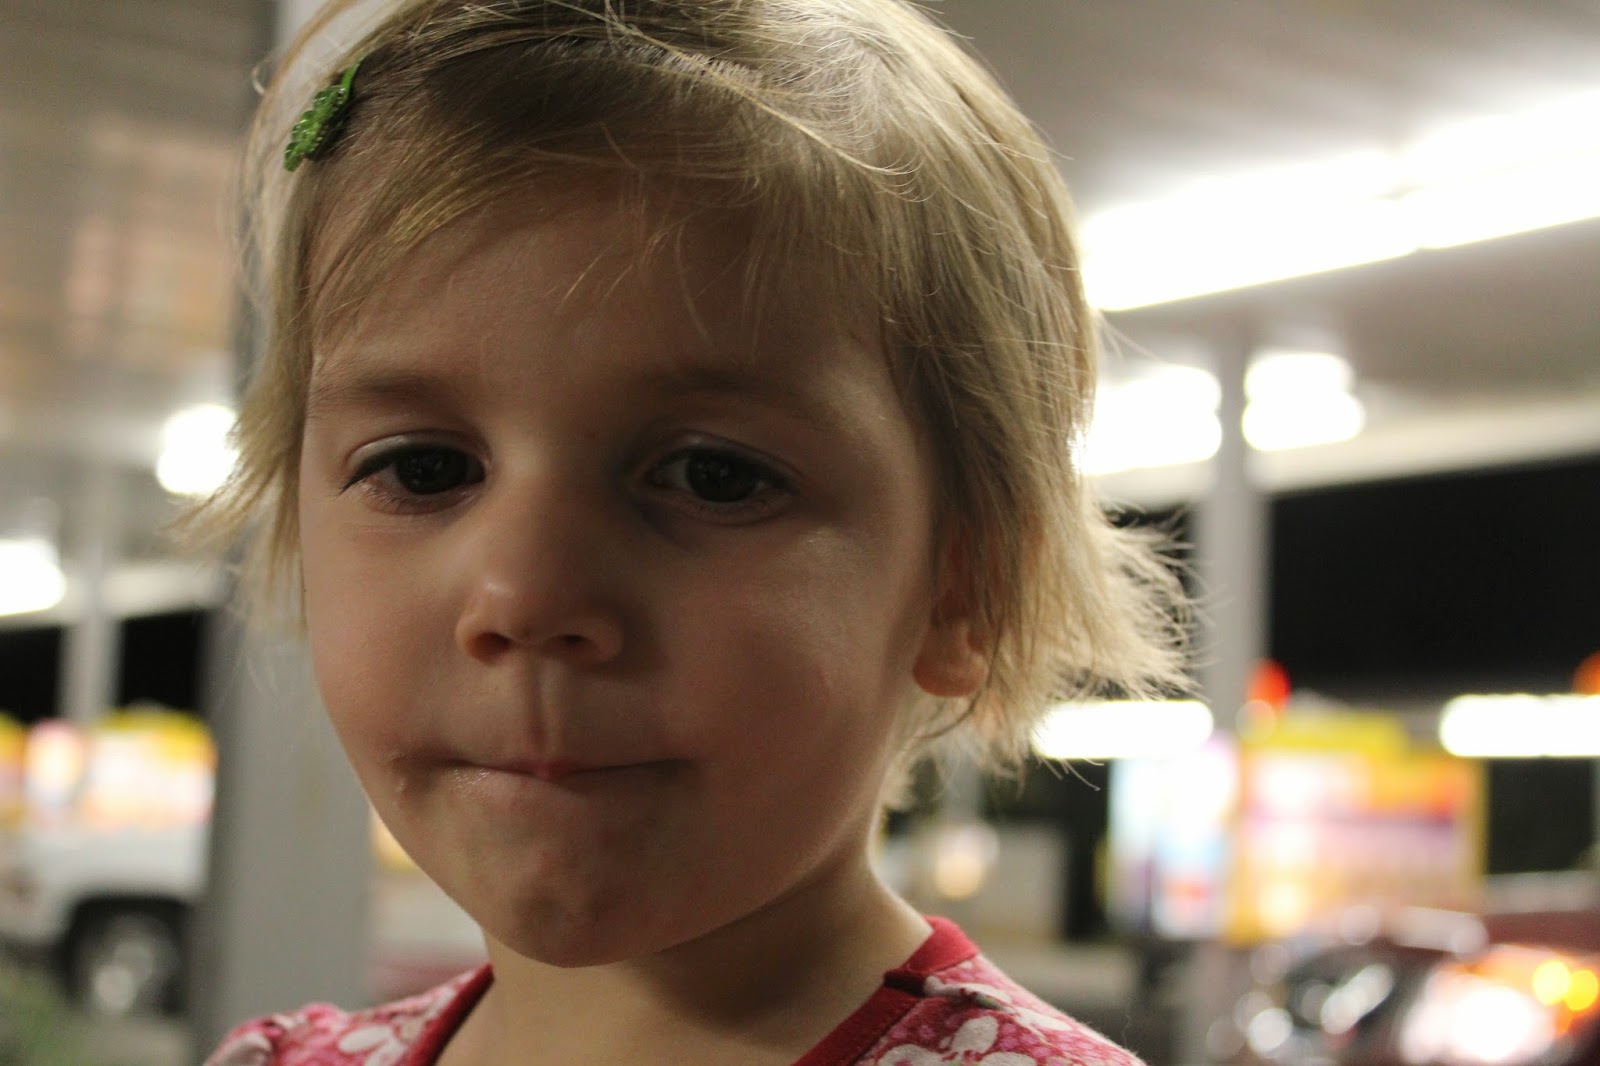
Sam graduated from preschool! Well, for the year anyway. He'll be going to a different pre-school next year since he is still a year away from Kindergarten.
Sam just LOVED preschool. We're so glad he went this year.
To celebrate his graduation, we all went out for milkshakes at Sonic after. Yum!
Sam started pre-school! He absolutely loves it too. He got a new backpack for Christmas, and he gets to be in the same class as his cousin Chase. Here he is on his first day. Can you tell he feels pretty big?
Sophie decided to participate in the school talent show this year. Ever since her birthday in October, she has been improving her pogo stick skills, so she decided to show that for her talent. (Her current record is now 624 bounces.) She asked the audience to count with her to 100 bounces, and added some tricks into the mix too (one handed, spinning around, etc). It was definitely a crowd favorite! Here is the video:
We went on a tour of the Gilbert Temple on Thursday night. Mary had been looking forward to it all week, but kept referring to it as the "Yogurt Temple", so I was worried that she would be a little disappointed. Luckily she loved it, even though there was no yogurt to be found there. Since we had time available, I decided to take the 2 younger kids back with me the next morning to visit during the daylight. We had a great time. It is a beautiful building and it was a great experience to go inside with my kids.